Before you start
You need about an hour of quiet time, an email you actually check, and a rough idea for a book. The rough idea can be one throwaway line ("a widow inherits a lighthouse and finds her sister's diary in the walls") or ten pages of stream-of-consciousness notes. The Wizard treats both the same way — as raw material it can lean on. If you have nothing at all, the Wizard has a brainstorm mode you can talk through first, so a totally empty mind is also a fine starting point.
You'll also need to be somewhere the sound of typing is welcome. This is a real-writing app; almost every keystroke matters and almost every screen invites you to type into it. Ninety minutes at a coffee shop or on the couch is a better fit than four minutes at a red light.
If you already have a partial draft you want to work on — a .docx, a .md, a .pdf export, or a plain .txt file — skip the Wizard and go to Dashboard. The Upload book button imports your existing draft and lands you straight in the editor with your prose intact and paragraphs indexed.
Step 1: Sign up
Open Sign up. You'll see a centered card with your name (optional), your email, a password (minimum 8 characters), and a password confirmation. There's a Create account button below the fields, and a Sign up with Google button underneath a divider if you'd rather not manage a password.
Use an email you actually read. If you ever need to recover access, get a billing receipt, or email support, that's the address we'll match against. If you use Google, the same behavior applies — the email attached to your Google account becomes the address on your Manuscripts account. See Your account for the full rules on handles, display names, and password recovery.
When signup succeeds, the server creates a fresh empty project for you behind the scenes, sets your session cookie, and drops you on the Dashboard. You don't see a loading screen or an email verification step — you're in.
Step 2: Open the Wizard
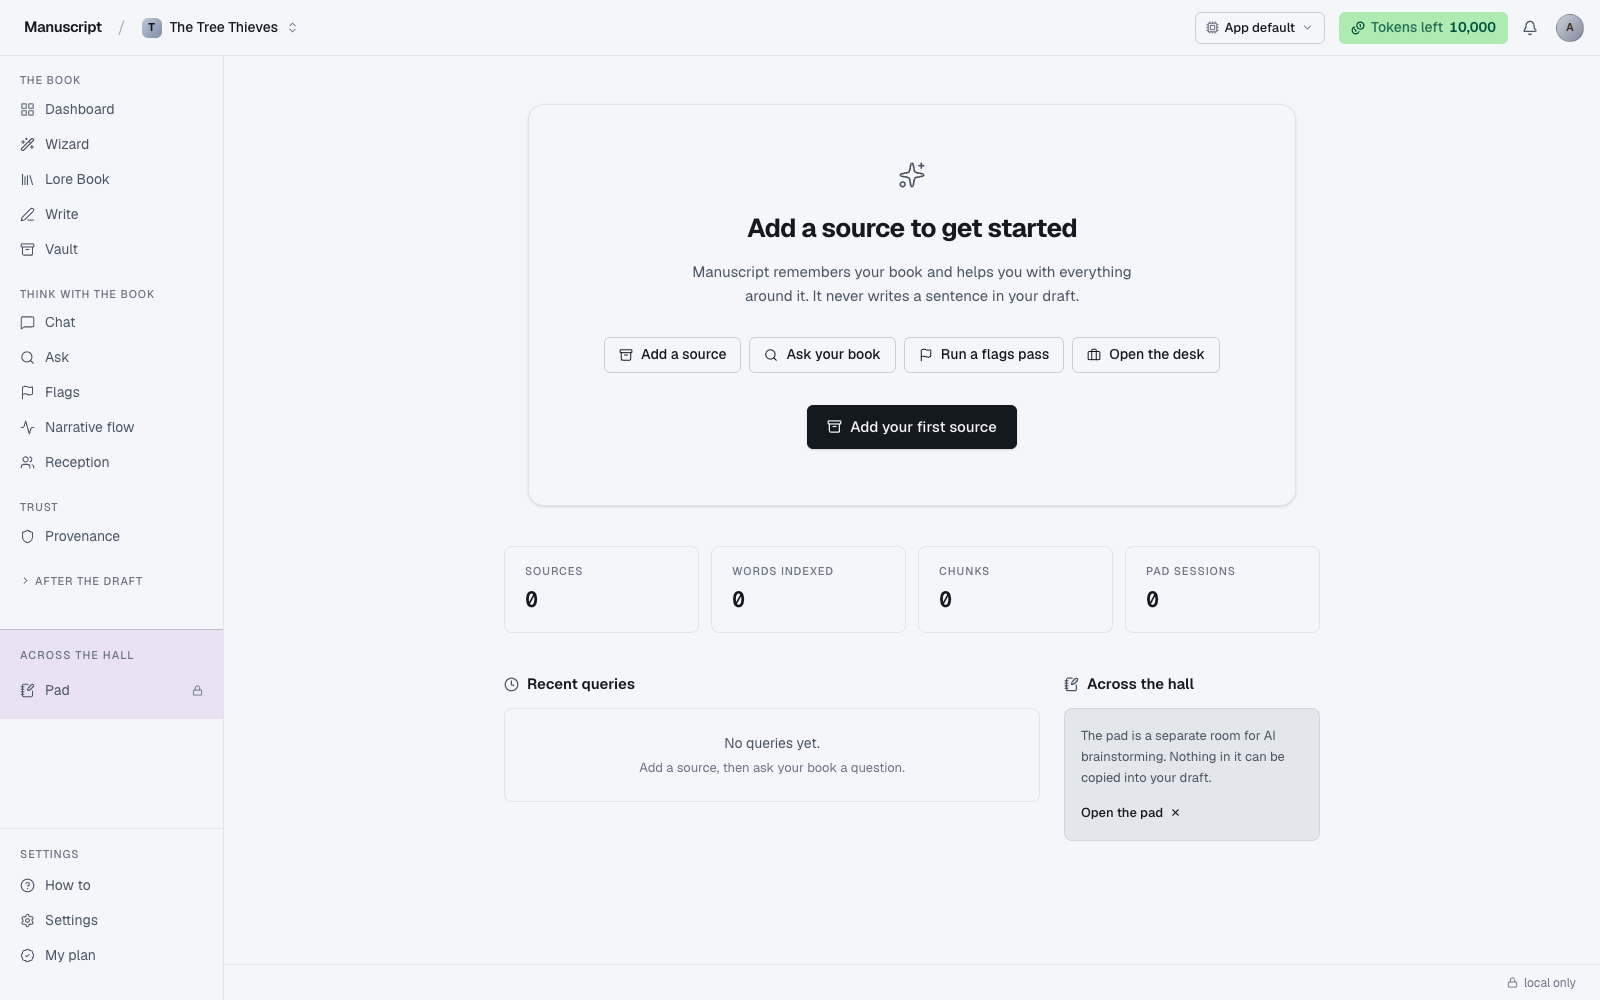
From the dashboard, click Wizard in the left sidebar (labelled with a wand icon) — or on a truly fresh account, click New manuscript and choose Open the Wizard. The Wizard is a 10-step interview that captures the shape of your book without asking you to write a single paragraph of prose. See The Wizard for the full walkthrough — this section is a quick tour of what makes it different from a template.
Two things are worth internalizing before you start:
- Every step auto-saves 1.2 seconds after your last keystroke. A "Saved just now" chip appears at the top of the next step. You can close the tab, come back tomorrow on a different device, and pick up on the exact step you left, with your last answer intact. Nothing here has a timeout; nothing here demands you finish in one sitting.
- You can move backward at any point. The step counter at the top of every Wizard page is clickable. Changing an earlier answer doesn't wipe your later answers — it updates the seed the AI is working from. If you rewrite your synopsis in Q4, the chapters proposed in Q8 stay as they are; you'd need to re-run Q8 to reseed them. The Wizard doesn't cascade recomputes automatically because that would burn tokens on drafts you might not want.
Step 3: The first three steps set the frame
The opening three steps are all about framing what kind of book you're writing. Nothing here becomes prose. Everything here becomes the seed the AI reads before it does anything later.
- Q1 — Idea dump. A large underlined textarea with a "paste whatever you have" placeholder. Paste everything: a one-line log line, ten pages of raw notes, a bulleted list, a voice-memo transcript. The messier the better; the Wizard treats this as private briefing, not as anything a reader will ever see. If you have nothing, click No, I don't — help me brainstorm to open a mini brainstorm chat and talk through a premise before seeding Q1.
- Q2 — Title. The AI reads your Q1 dump and proposes several titles as tappable cards, each with a short reasoning line ("plays on the water motif", "evokes the quiet-menace tone"). Tap a card to accept it, click the pencil icon to edit it inline, or ignore all the proposals and type your own into the field above. You can change the title later from the Overview page without re-running the Wizard.
- Q3 — Genre and style. A scrollable genre picker (literary, thriller, memoir, romance, historical, sci-fi, fantasy, and so on) plus — critically — a style line: one sentence describing the prose voice you want. Vague style lines like "readable" or "engaging" produce vague drafts. Specific ones ("spare, elliptical, present tense" or "warm, chatty first-person memoir with dry humor") give the AI something to lean on. The style line is quoted verbatim into every subsequent AI proposal, so spend a minute here.
Step 4: Synopsis and the story graph
Steps 4 through 7 build the story graph — the skeleton the AI leans on whenever it drafts prose later.
- Q4 — Synopsis. The AI drafts a 200–400 word synopsis in the style you set at Q3, streaming it in over 5–15 seconds. Everything is editable — rearrange paragraphs, delete sentences, add the plot beat it missed, tighten the ending. Spend 15 minutes here. This becomes the north star for every drafting step, and 15 minutes of editing here saves hours of Q10 rewrites later.
- Q5 — Characters. The Wizard proposes a cast (usually 3–8), each on its own card with name, age, occupation, one distinctive trait, one key wound. Accept, edit inline, delete, or add your own via the dashed "Add another" tile. Every character gets an optional aliases list — nicknames, code names, "the man in the hat" — which is how
@-mentions resolve later. - Q6 — Locations, Q7 — Objects. Same interaction pattern. Locations get region, vibe, and a distinctive detail. Objects get a description plus a "symbolic weight" note for what they represent beyond their physical form. Fewer, richer entries beat many hollow ones.
By the end of Q7, you have a populated Lore Book you can reference by name from anywhere in the editor — type @ and the typeahead surfaces every entry.
Step 5: Outline and chapters
Steps 8 through 10 turn the story graph into actual chapters.
- Q8 — Chapter outline. The Wizard proposes a chapter list (typically 8–20 chapters), each with a title, one-line premise, and rough act position. Drag rows to reorder, click a title to rename, click the premise to expand, use the trash icon to delete, Add row to insert your own. If you already have an outline of your own, delete the proposals and paste yours in — the Wizard doesn't need the outline to come from it, just to exist.
- Q9 — Scene planning. For each chapter, type scene beats one per line into a textarea, or click Plan it for me to have the AI stream five plan options as cards. Pick one to prefill the textarea, edit it, save. As soon as you approve a chapter's scenes, a document is seeded in Write — you don't have to wait for step 10 to see structure in your editor.
- Q10 — Chapter drafting. For each chapter you mark as ready, the Wizard streams a full drafted chapter into a diff view. Every paragraph gets its own row with Accept / Reject / Regenerate. Accepted paragraphs enter the manuscript and are logged to Provenance with the exact before/after text and timestamp. Nothing enters your manuscript automatically.
Or you can stop at Q9. Some authors run all ten steps and toss the AI-drafted paragraphs out entirely to write their own from the Lore Book alone. Both paths are legitimate; the Wizard isn't a prison.
Step 6: Open your first chapter
Go to Write. Your seeded chapter is already there, sitting in the document sidebar on the left. Click it to open. The editor is a serif surface (Source Serif 4 at 19px, line-height 1.75, max width 68 characters per line) — the measure is deliberate; your paragraphs read the way they'll read in print.
If you want to see what's there and think before you touch it, press ⌘. (Command + period) to enter focus mode. Every paragraph except the one your cursor is in fades to faint gray. When you're ready to write, just type — autosave fires 1.2 seconds after your last keystroke and the footer reads "saved 9:14am".
To get an inline AI suggestion, select any span of text. A small BubbleMenu appears above the selection with 12 commands — Rewrite, Content Improver, Expand Content, Voice Update, Translate, and eight more. Pick one, and the suggestion sheet slides in from the right with tokens streaming in as they're generated. When it finishes, you decide: Accept replaces your selection and logs the change to Provenance; Reject discards it; Regenerate tries again. Nothing enters your manuscript until you accept.
That's the whole loop. Type. Select. Ask. Accept or reject. The rest of the app — Chat, Ask, Flags, Templates, Voice — is optional support around that core cycle. Welcome in.
How to use it
- Open Sign up and fill in A handle, A display name, An email address, and A password (min 8 characters). Or click Sign up with Google. On success you're dropped on the dashboard with an empty project pre-created.
- On the dashboard, click the New manuscript button (top-right). It creates an "Untitled" project and jumps you straight into Write with an empty document. If you'd rather use the guided path, open /wizard from the left sidebar instead.
- In the Wizard, work through steps 1-8: paste anything you have in Q1 - Idea dump (or click No, I don't - help me brainstorm to brainstorm first), pick a title in Q2, set genre + style in Q3, edit the synopsis in Q4, then seed characters, locations, and items in Q5-Q7. Every step auto-saves 1.2 seconds after your last keystroke and shows "Saved just now" at the top.
- In Q8 - Outline, accept or edit the proposed chapter list, then advance to /wizard/chapters for scene planning. As soon as you commit a chapter plan and pick Continue to the editor, a document is seeded and you jump into Write.
- In the editor, start typing. Autosave fires 1.2 seconds after your last keystroke - the footer bar reads "saved 9:14am". Press Cmd+. (Command + period) to enter focus mode if you want the surrounding paragraphs to fade.
- To get an AI suggestion, select any span of text. A BubbleMenu appears above the selection. Click Wand (Inline AI) and pick a command like Rewrite or Content Improver. The suggestion sheet slides in from the right and streams tokens (5-15 seconds for a paragraph).
- Click Accept to replace your selection - the paragraph IDs plus before/after text are logged to Provenance. Click Reject to discard. Nothing enters your manuscript until you accept.
What to read next
- Write — every editor feature in one place
- Voice fingerprint — teach the AI to write in your voice, so its suggestions stop feeling like AI
- Provenance — the ledger of every AI-accepted word in your book